In honour of Sourdough September, chef and sourdough expert Hilary Cacchio offers advice and inspiration
Sourcing a sourdough culture
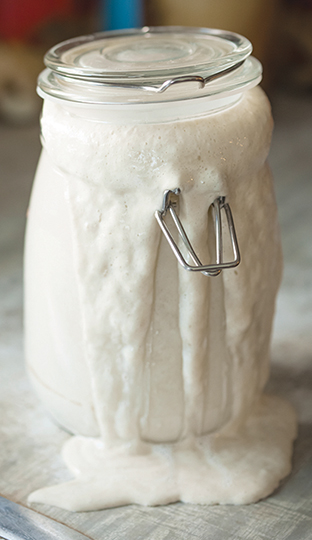
If you don’t already have a wild yeast culture there are several options for getting one.
1. Find someone who has a working one and ask for a small portion of it.
2. Go to my website (www.hilarycacchio.com) and you can order a sibling of my culture which will be mailed to you.
3. Come to one of my hands-on workshops and you will be given one. Check my website (www.hilarycacchio.com) for dates and venues.

4. Follow Nancy Silverton’s instructions in her book Nancy Silverton’s Breads from the La Brea Bakery. They do get some criticism because they’re a bit long-winded, but I can’t fault them because 17 years ago they worked for me and they were fun, involving the mixture turning yellow midway.
5. Have a go at harnessing one. This method isn’t fail-safe, since it’s not a given that you will end up with a stable combination of wild yeast and bacteria that will make great bread, but it is easy to try. It works on the basis that wild yeasts are everywhere, on fruit, vegetables in the air and in organic/biodynamic bread flours (using flour puts the odds in your favour).

Start with organic or biodynamic stoneground flour; then you have the best chance of finding suitable wild yeasts. Even if you plan to feed/refresh the culture in the future with organic white or wholemeal wheat flour, start the culture with organic stoneground flour and some or all organic rye flour.
The bacteria in the culture will likely come from you!
Use bottled or filtered water. Make sure everything is chemical-free and rinsed. In the future, the culture will be robust enough to fend off most things but, initially, give it the best chance.
Day 1: Put 30g each of organic stoneground rye and your chosen stoneground organic flour into a kilner/jam jar and then add 60g bottled/filtered water and put a lid on it. Leave it for 48 hours at a cool room temperature 16–18°C.
Day 3: Stir in 30g of your chosen organic flour (the one you plan to feed it with in the future) and 30g of bottled/filtered water, leave it with a damp piece of kitchen paper over the jar at room temperature (20–24°C) for 24 hours.
Day 4: Repeat instructions for Day 3.
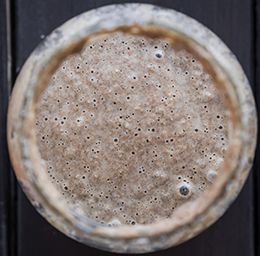
Day 5: The culture will be showing signs of life. Pour it into a medium-sized bowl and feed as Day 3, laying a damp tea towel over it this time. About five hours after the feed it will be bubbling, becoming light and airy.
Day 6: Twelve hours later (from now on the frequency of the feed will always be 12-hourly) double the size of the feed.
After: So as not to create a lake, discard some of the mixture from time to time. Keep the weight at around 300g and feed it 12-hourly with around 40g of flour and the same weight of water. Your newly formed culture will reach its potential over a few weeks so keep it at room temperature, maintaining 12-hourly feeds for the first 2 weeks, then try some experimental bakes.
For me, capturing your own is highly overrated. Instead, source a culture that is up and running and making good bread. My understanding is that eventually, after a few months in your own kitchen, it becomes populated by your home-grown bacteria and probably your own local wild yeasts.
Exploding a few sourdough myths
1. YOU CAN GO ON HOLIDAY. Owning a sourdough culture does not preclude you from ever going away. My culture has remained dormant and unattended, under refrigeration, for five months (I don’t recommend doing this too often) and did return back to life eventually with a little TLC.
2. IT ISN’T DEAD. You may be one of those people who has had a sourdough culture but threw it away because it was ‘dead’. I’m sorry to have to tell you this, but it probably wasn’t! Throwing away an active culture is perhaps not quite as bad as burying someone alive but, alas, it’s a little sad! However, if your culture does develop mould (I have only heard of this happening once) then, yes, it probably has expired.
3. YOU WON’T NEED TO RETIRE from full-time employment when you start using a sourdough culture. I assure you after a couple of months of practice (probably less), from removing your dormant culture from the fridge to removing your loaf from the oven can take as little as ten and certainly no more than 20 minutes hands-on time.

4. IT IS INCREDIBLY FLEXIBLE. There are enormous windows of opportunity throughout the whole process of dough production. It can and will always be to your dough’s benefit if you have to shove it in the fridge or just find somewhere that is cool (below 10°C), while you slip away for a quick trip to the market or for a slow glass of wine at the local bar.
5. YOU DON’T NEED TO BE A SCIENTIST before you can start making good bread: it’s like driving a car. As long as you know a few basic bits of information (where and when to add the petrol – flour – and the water), it isn’t essential to know how the engine works. After capturing my culture I baked with it for five years, knowing only how to store it, and when to feed and bake with it, before I lifted the bonnet.
6. DON’T EVER ADD SUGAR, yoghurt, commercial yeast or anything other than organic flour and water (preferably filtered) to your ‘mother’ wild yeast culture. By all means add any of these ingredients to your dough, just never to the culture that you store, feed and nurture.
7. THERE IS MORE THAN ONE WAY to make sourdough bread. There are now hundreds of people baking with wild yeast in hundreds of different ways. Sourdough Suppers offers one angle and it is worth learning from other experienced and successful sourdough bakers and cherry-picking from their techniques to create something that works for you. So many different approaches may seem confusing but it shows how flexible sourdough is, and how baking with it can be adapted to suit you and what you want from a loaf.
How to make Jersey Royal Tortano
The high ratio of potatoes to flour makes this dough a bit sticky to handle so continuous kneading isn’t suitable. The best approach is short spurts of kneading with lots of idling! Let the dough do most of the work itself (these rests can extend up to an hour if it is more convenient). Also, this recipe needs the salt for the potato, otherwise you risk a bland loaf.
Ingredients
• 500g Jersey Royal potatoes
• 250g frisky sourdough culture
• 50ml room temperature water
• 400g strong plain or stoneground flour
• 30g everyday extra virgin olive oil, plus 15g for kneading
• 12-13g Maldon sea salt and…
• 1 generous pinch of freshly ground white or black pepper
Step-by-step guide

1. Wash off any dust and dirt from the potatoes and steam them until they’re soft. Smash them up with a potato masher or the back of a fork (skins and a few lumps are OK), then lay the potatoes out in a single layer on a plate for the steam to escape as they cool.
2. Weigh all the other ingredients into a large bowl, add the potatoes and mix thoroughly together until all the flour is incorporated and you have a stiff ball of dough. Initially the dough will seem very dry but later, during kneading, the potato releases moisture and the dough will loosen and become sticky, so don’t be tempted to add more liquid, at least not at this stage. Tip the dough on to the work surface, cover with a bowl and then let it rest for 30 minutes.
3. Rub your hands with a little oil, knead the dough for 20 seconds then rest for ten minutes. Repeat this 20-second knead and ten-minute rest eight times.
4. After the final knead, rest the dough for 20 minutes before testing gluten development using the windowpaning method (see page 47, step 3 in my book). If you don’t think it is quite ready yet, knead and rest the dough a few more times.
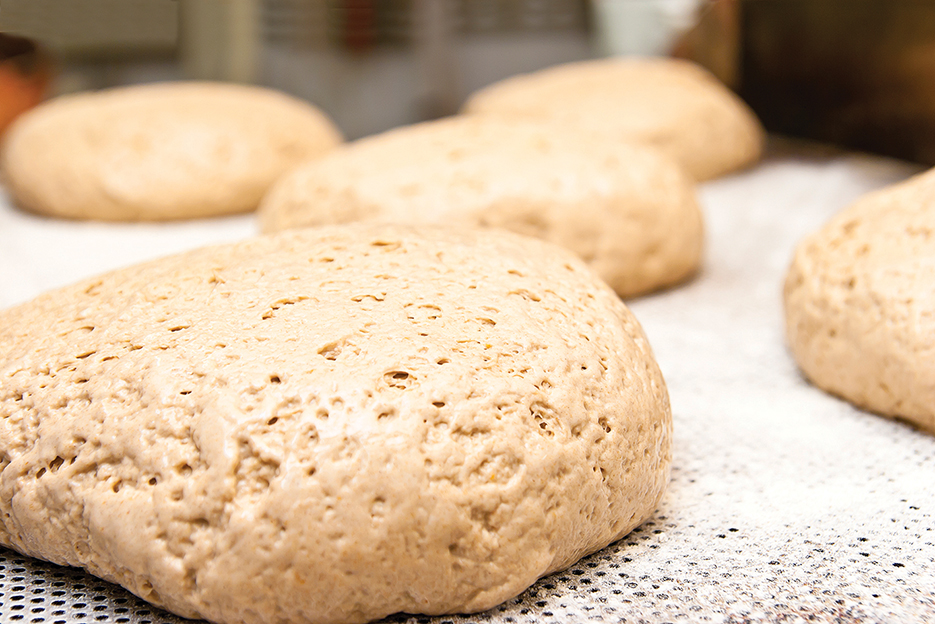
5. Return the dough to a clean, lightly oiled bowl, cover with a piece of oiled cling film and leave it at room temperature for about one to three hours to start bulk-proving. When it begins to inflate, put the dough somewhere cool (about 10-14°C) or refrigerate until it has doubled in size. Depending on the temperature this will take between ten and 24 hours.

6. Fold up and store the cling film (it can be used again later in the recipe). Scrape the dough onto an oiled work surface and, with well-oiled hands, gently pull it out into a large rectangle. Fold the upper third down, the lower third up, grab each side (left and right) and fold a third in from each end to create a square ball. It is now ready to shape.
7. To shape, oil your hands and shape the sticky dough into a ball. Transfer to a baking tray lined with baking parchment then oil your three middle fingers, hold them together and push them firmly through the centre of the dough, wiggling them around to create a large hole like in a doughnut. Now put an oiled ramekin dish or jam jar into the ‘doughnut’ hole to prevent it from closing up during the final prove. Drape the dough with the oiled and lightly-floured cling film again and leave it at room temperature until it has increased in volume by about 80{b486c5a37ab2d325d17e17d701cb2567b1ecd1814e8ceb33effa2a4f1f171d46}.
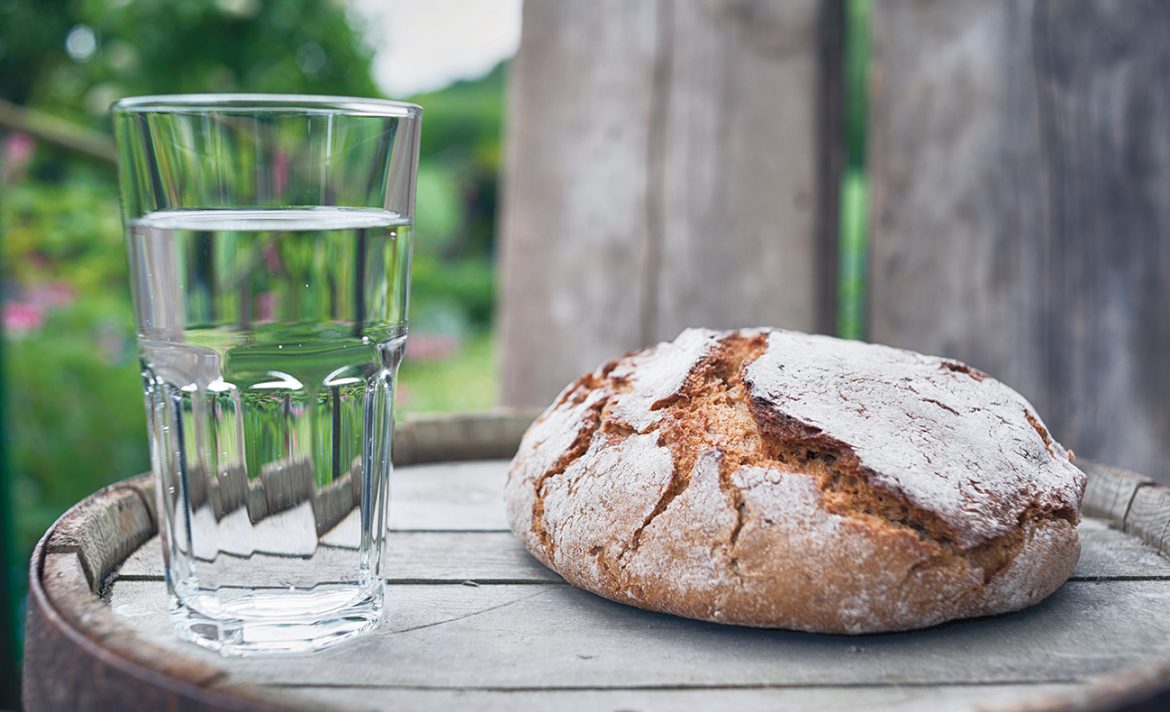
8. Preheat the oven to 220°C/200°C fan-assisted/gas mark 7. Remove the cling film (if you fold it up carefully, you can reuse it) and the ramekin/jam jar then bake the dough for ten minutes. Turn the oven down to 180–200°C/160-80°C fan-assisted/gas mark 4 and continue baking for at least another 25–30 minutes. If the loaf starts to brown too quickly (which it is prone to, due to the high starch content), either cover it loosely with foil or turn the oven down a little. It does take quite a while to cook thoroughly, and should be deep brown when done.


Sourdough Suppers
Hilary Cacchio’s book is out now and offers an exquisite collection of meals created around handmade breads and simple, seasonal ingredients, featuring illustrations by Kate Charter. It’s also packed with advice on everything from sourcing a culture to troubleshooting. Priced at £20.

