Keep yourself busy during lockdown with one of Sew Knit Craft‘s mini craft projects
If you’re looking for a way to while away the hours spent stuck in the house – look no further. Sew Knit Craft has got you covered with their array of craft projects, and don’t worry; even craft novices can have a go. Read on to find out how you can make your own face cleansing kit, cushion covers and more, and head to Sew Knit Craft‘s website to browse their selection of craft supply kits.
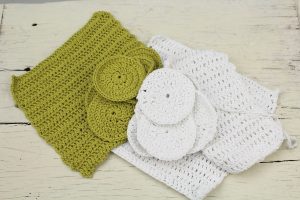
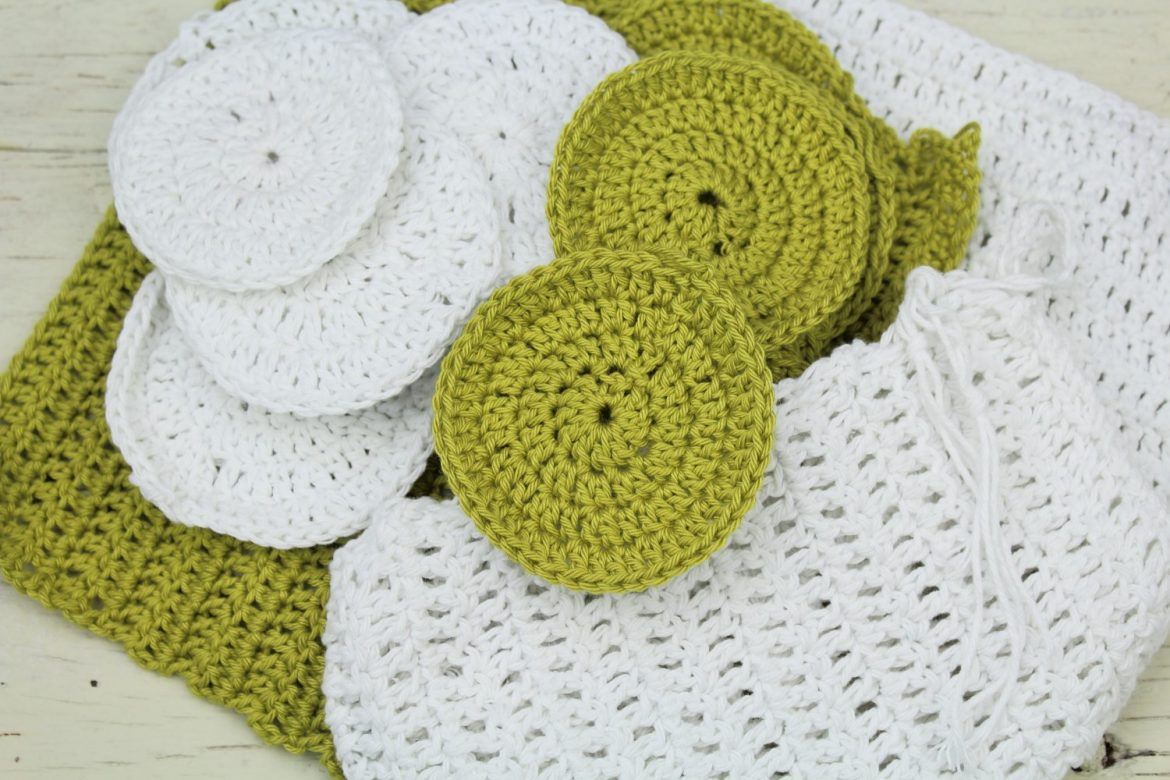
Crochet face cleansing kit
Instructions:
Flannel pattern
1.Using a 3.00mm or 3.50mm crochet hook chain 37 stitches
2. 1 Treble into the 4th chain from the hook.
3. 1 Treble into each chain. Make 3 chain and turn.
4. 1 Treble into each stitch make 3 chain and turn.
5. Continue until the flannel is the desired size. Work in the end to complete.

Face cleansing pads
1. Make a magic ring. Make 3 chain. Crochet 11 Trebles into the magic ring. Slip stich into the top of the chain.
2. Round 1: Chain 3 crochet 2 Trebles into each stitch. Slip stitch into the top of the chain.
3. Round 2: Chain 3 crochet 1 Treble into the first stitch and 2 Trebles into the next stitch. Slip Stitch into the chain.
4. Round 3. Crochet 1 Treble into the first two stiches and 2 Trebles into the next stitch. Slip stitch into the chain. Secure the end and work in ends to complete.
Cotton wash bag
1.Make a flannel, following the pattern above.
2. Fold the flannel in half and over stitch the two short edges to secure the sides.
3. Make a single chain for the drawstring, longer than the bag opening so that there is enough length to tie the ends together.
4. Thread the chain drawstring through the top row of loops at the bag opening and tie together.
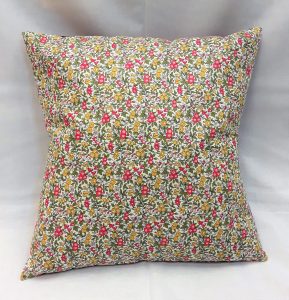
Envelop-style cushion covers
Instructions:
1.Press all pieces.
2. Take the two back pieces (plain fabric). Fold over ¼” along 1 of the longest sides, press in place. Fold it ¼” again and press.
3. Stitch along the folded section to create a hem.
4. Repeat with the other piece.
5. With right side facing, place the front piece and back pieces together matching the outside edges and overlapping the stitched pieces.
6. Pin in place and stitch around the cushion using a 1/4” seam allowance.
7. Trim corners but take care not to cut the stitching, turn to right side and press
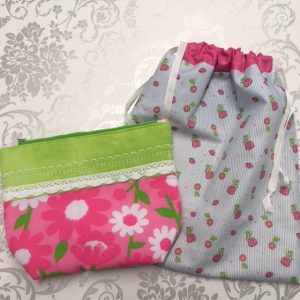
Drawstring bag

Instructions:
1.Take two pieces of the fabric – one with notches and one without. Put them together with right sides facing and stitch a 1/2″ seam alone the shorter edge closest to the notches. Repeat with the other two pieces. Open them out and press them seams open.
2. Place the 2 pieces you’ve just done together with right sides together – make sure the two notched sides are together and the notches line up. Stitch a 1/2″ seam around the whole thing, leaving a 2.5″ gap at the un-notched end and a gap between both sets of notches. Cup corners. turn out through the 2.5″ gap.
3. Press the side seams. Poke two fingers in through the 2.5″ gap and with your thumb on the outside, manipulate the side seams open. Press a sharp fold with your thumbnail. Pay particular attention to the unstitched bits between the notches.
Push the side with the 2.5″ gap into the side with the notches. Make sure the top seam is even and the side seams are together and still open. Press top and sides by pushing the tip of your iron inside the bag. Stitch around 1″ from the top – just above the opening between notches – and then stitch around again below that, jus below the same opening.
4. Take one piece of your ribbon and attach a safety pin to one end. Thread the ribbon into one of the openings in the side of your bag. Use the safety pin to move the ribbon along inside the channel created in the last step. Thread the ribbon all the way around the bag until it comes through the same opening it went into. Put both raw end together and tie a knot. Do the same with the other piece of ribbon, starting and ending in the other opening.
5. Pull out the inside part of your bag and find the opening you used to turn the whole bag out through as in Step 2. Turn raw edges to the inside and press. Stitch opening closed close to the edge. push it back into the bag.
Take hold of the knotted ends of the ribbon – one in each hand – and pull. You’re done!
MORE LIKE THIS:


